Check back soon
Once posts are published, you’ll see them here.


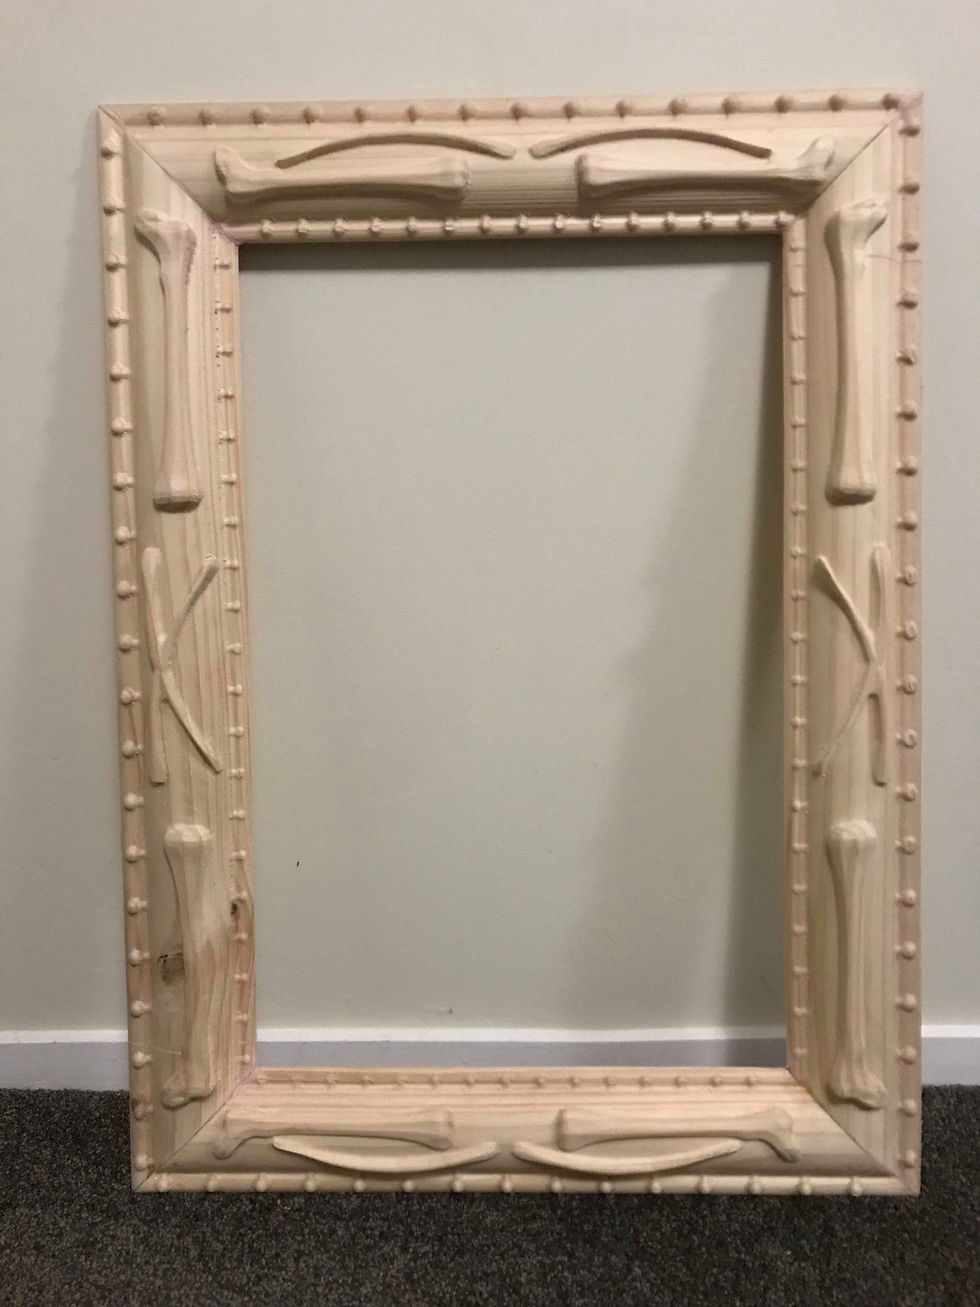
So this semester I have decided to try my hand at making custom frames for my paintings. Once I finished my minor in digital fabrication I realised that I actually really missed being in the labs designing and making. I was also feeling a lack of inspiration when it cam to my painting practice and needed something to inspire me to get going again. This is where my idea for using the CNC machine to create custom frames for my paintings came from. I had come up with a new painting that was really different to the stuff that I was doing before that I was quite exited about. Because this painting consists of bones I decided to make a frame for this piece which had some bone detail to match the painting. I did this using Rhino.


I bought some 2 by 4 treated pine wood to CNC the frame out of. I then took the top off to make the edge flat.


I then moved on to CNC my pine. First off a roughing path is done to take away excess material using a 6mm drill bit. The 6mm was used instead of say a 10mm to prevent tear out. When the roughing path is complete you are left with the general shape of bones and curves.

I then moved on to the finer path to smooth out and make detail. This is done with a 6mm round head drill bit. First it was done vertically along the grain, this is to prevent tear out. I then went across is horizontally to take out the remaining ridges to give the frame a smoother look. Bellow you can see the difference between the roughing path on the left and the refining path (vertical) on the right.

I then sanded off excess ridged and material to make a smooth finish. Marking out my points I then cut each of the ends at a 45 degree angle using the drop saw.

The next day I glued the the frame together using epoxy. I used epoxy because it is fast drying and strong holding compared to wood glue that take about 12 hours to completely dry. This means I would have had to used clamps which could easily damage the frame, being pine, a soft wood. I then used a filler to fill in any gaps and sanded back.
Once the construction of the frame was complete I then had to figure out how to paint it. I wanted a antique gold look that matched the painting that it was made for. Who knew there were so many different types of gold!!?? I went on an adventure trying to find the 'right' gold and figuring out what technique worked best so the frame didn't have a tacky from the warehouse look. I ended up testing 3 different techniques with acrylic painting. The far right was first painted gold then let dry then painted a burnt umber over top then then wiped off with a paper towel, which left all the paint in the grooves. I really liked the finish on this one but the gold was too yellow to match the painting. The far left was done using a burnt umber colour as the base under paint, when this was dry I dry brushed the gold on top. Interestingly, this gave the same gold a greener darker tinge to it which suited the painting well. The middle left was done using a mixture of both techniques as I loved the finish of the first but the colour of the second. Painting a burnt umber under-paint then gold on-top then burnt umber again and wiped off, to me this looked too tacky. The middle right was a test of a more copper colour which ended up not suiting the painting. So I decided to go with the second test.

I then painted the frame burnt umber and left it to dry and then proceeded to dry brush the gold on top.


Once The frame was dry I added my painting to it. I love the final product and I cant wait to do more

Comments