Check back soon
Once posts are published, you’ll see them here.


Last year Myself and my digital Fabrication partner Alana Bradon-Parsons designed and created stackable lights through digital fabrication processes.
The software we used was Rhino 3D software with the grasshopper extension.

We began with basic design sketches which we then began to translate into Rhino and grasshopper.
The Grasshopper code bellow is what we have created to form our organic cell-like pattern. The code is an adaptation of quite a few voronoi tests we did at the beginning of our project. The main difference and key benefit of the above code is that the voronoi is mapped to fit within the selected ‘Surface’. This means that we are able to adjust and change the shape of our light, and the pattern automatically re-adjusts to fit the new shape.
The other key difference in the model is that we have designed and selected particular points, rather than using ‘Pop2D’ as this has enabled us to create a voronoi pattern that is larger in the centre, and denser near the edges.
After ‘Baking’ the above code, we also designed top and bottom panels in Rhino to cap our light feature.


Moving into Rhino we applied the Grasshopper pattern into a surface a created the top and bottom plate of the lights.
With our digital modelling complete, we headed to the 3D labs to laser cut a test panel.
We adjust our grasshopper file slightly due to complication and decrease the number of curves in each panel.
Along with changing the poly-count, we made the edges wider to hide the lights and wires and we also increased the space between the curves in the pattern in order to make the structure stronger.
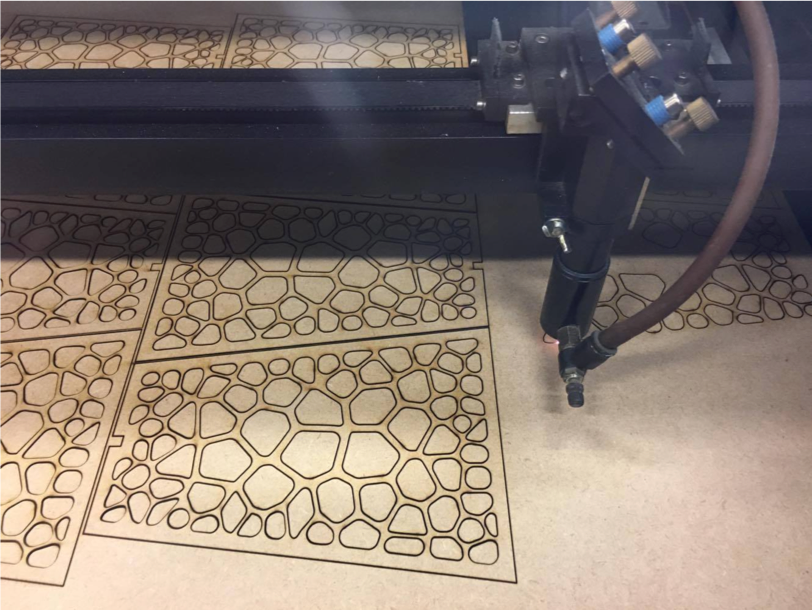
To cut out these forms we used a laser cutting machine.
After all 3 sheets were complete we changed labs to begin construction. We needed to angle cut 3 edges of all 36 panels, the sides and the bottom, so they all fit together. These angles had to be perfect so they there were minimal gaps between each panel. We worked out that the sides needed to be cut at 30 degrees, so to be safe we started at 25. After cutting 6 panels at 25 we tapped them together to check the measurements. As we suspected 25 was to small so we increased the angle to 30 which turned out to be perfect. We then began to cut the bottom angle, we started at 10 degrees on all 12 pieces and temporarily tapped the lamp together. We decided that 10 degrees worked. After cutting all 36 panels with the drop saw we continued to glue all the pieces together.


After this we proceeded to wire the vessels with blue LED lights and graft paper to fit on the inside to make the smoky backing, which also helped spread the light.


Comments